You can use your Raspberry Pi with the camera module to remotely stream video of your home and even set up alerts if some motion is detected when you are not home. You can also upload the videos to a FTP, Google Drive, Dropbox or others.
There steps are focused on MacOS only.
Hardware
- Raspberry Pi 3 or 3 b+ : It might work with other models as well
- Raspberry Pi Camera Module: The original or some generic (you can find it here )
Software
Depending on your softwares versions it might not work as describe there. I’m using:
- Raspbian Stretch Lite – Version: April 2019
- Motion version 4.2.2
- motionEye server version 0.39.3
Steps
Install Raspbian
The complete tutorial can be find here . But basically you are going to :
- Download the “.img” file with the Raspbian image (Linux distribution for Raspberry)
- Copy the Raspbian image to an EMPTY SD Card (4 GB minimum)
- Insert the SD card into the Raspberry board, boot it up and setup internet access.
Here how to copy the image to the SD card.
$ diskutil list # Find your SD card disk
$ diskutil unmountDisk /dev/diskXXX # Change XXX for you SD card disk number
$sudo dd bs=1m if=/Users/maat/Downloads/2018-11-13-raspbian-stretch-lite.img of=/dev/rdiskXXX
$ sudo diskutil eject /dev/rdisk2
Install Camera
Login to your Raspberry (user “pi” / password “raspberry”) and run:
$ sudo raspi-config
Choose “5 Interfacing Options”, then “P1 Camera”, then “Enable“, “Finish” and finally “Reboot“.
It will enable the camera driver at boot time. You can test it running :
$ raspivid -t 1000000
If you have a screen connect to your Raspberry you will see the video, otherwise you can at least check if the the Camera’s Red LED is on.
Install Motion
On the linux (Raspbian) command line execute these commands (as user root) in order:
- apt-get install ffmpeg v4l-utils libmariadbclient18 libpq5 libmicrohttpd12
- wget https://github.com/Motion-Project/motion/releases/download/release-4.2.2/pi_stretch_motion_4.2.2-1_armhf.deb
- dpkg -i pi_stretch_motion_4.2.2-1_armhf.deb
Install motionEye
Now we are going to install the requited Python packages:
- apt-get install python-pip python-dev libssl-dev libcurl4-openssl-dev libjpeg-dev libz-dev
- pip install –upgrade pip
- cp /usr/local/bin/pip /usr/bin/pip
- pip install motioneye
Now let’s set up the services:
mkdir -p /etc/motioneye
cp /usr/local/share/motioneye/extra/motioneye.conf.sample /etc/motioneye/motioneye.conf
mkdir -p /var/lib/motioneye
cp /usr/local/share/motioneye/extra/motioneye.systemd-unit-local /etc/systemd/system/motioneye.service
systemctl daemon-reload
systemctl enable motioneye
systemctl start motioneye
systemctl restart motioneye
Web interface
At this point you should be able to access the web interface. Point your web browser to http://ip:8765, here “ip” is your Raspberry Pi IP address. Enter “admin” as user and let the Password field empty.
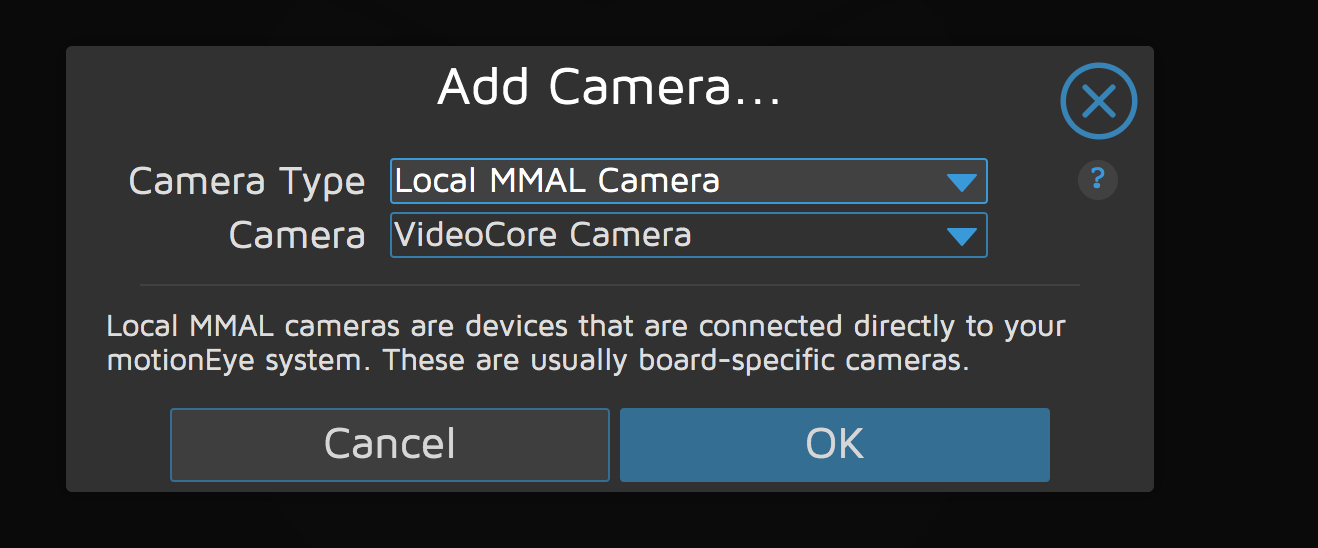
The web interface will offer you to add a new camera (“You have not configured any camera yet. Click here to add one…“) – Go ahead and click that link.
Now set the “Layout Columns” to 1 to see your camera stream in a bigger size. After enable “Advanced Settings” and play around with Video Resolution, Frame Rate etc .
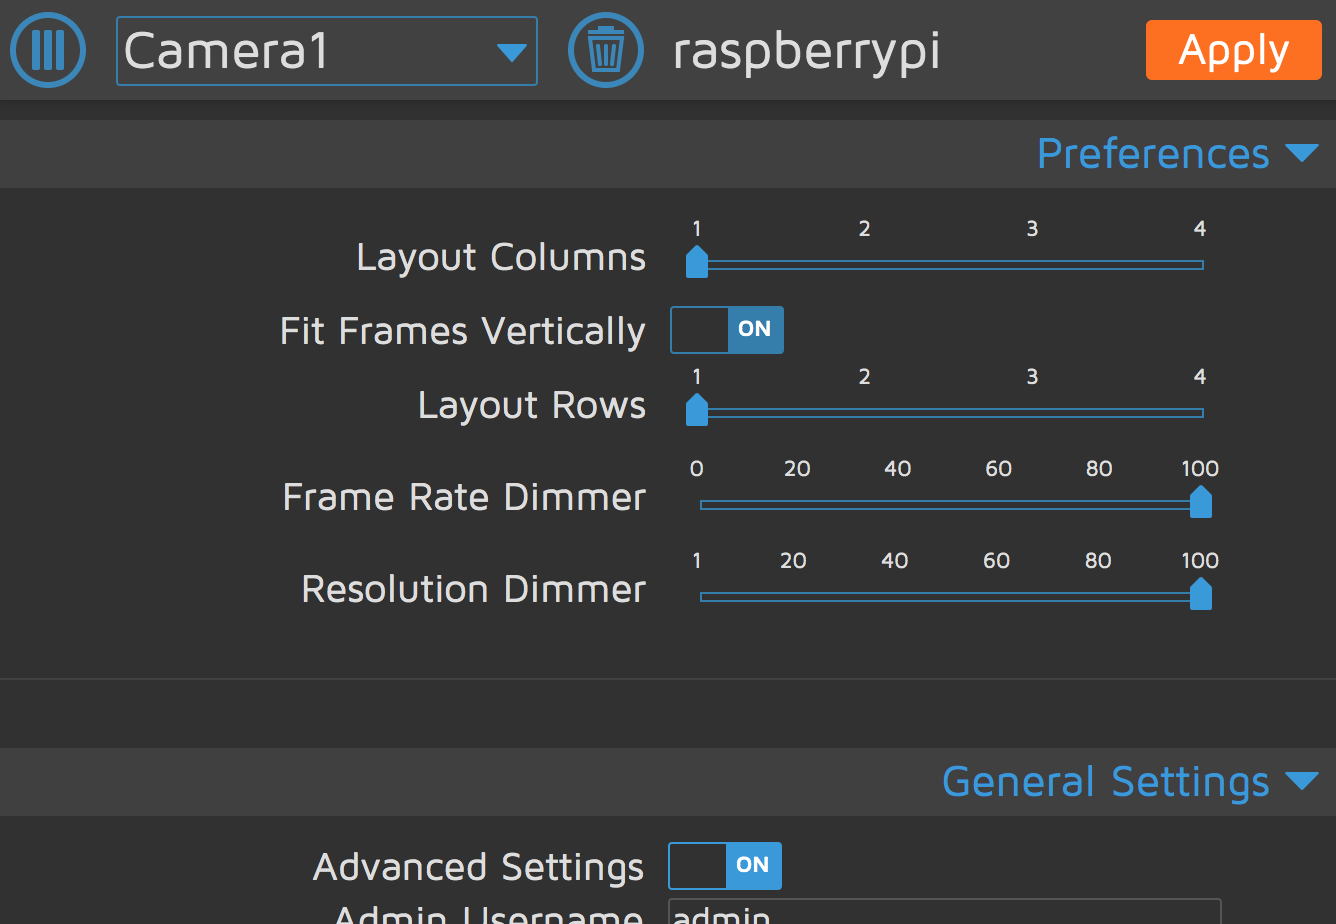
When you click in “Save”, the file “/etc/motioneye/thread-1.conf” will be created – you can make changes to it directly and restart the system to see the modifications in place
Turn Off the Raspberry Pi motherboard LEDs
To put your Raspberry in “Stealth mode”:
Remounting the boot partition as writable
    mount -o remount,rw,noatime,sync /boot
Edit /boot/config.txt :
# Disable the ACT LED.
dtparam=act_led_trigger=none
dtparam=act_led_activelow=off
# Disable the PWR LED.
dtparam=pwr_led_trigger=none
dtparam=pwr_led_activelow=off
# Disable the Ethernet LEDs.
dtparam=eth_led0=14
dtparam=eth_led1=14
Reboot.